
Contact us
Digital Marketing
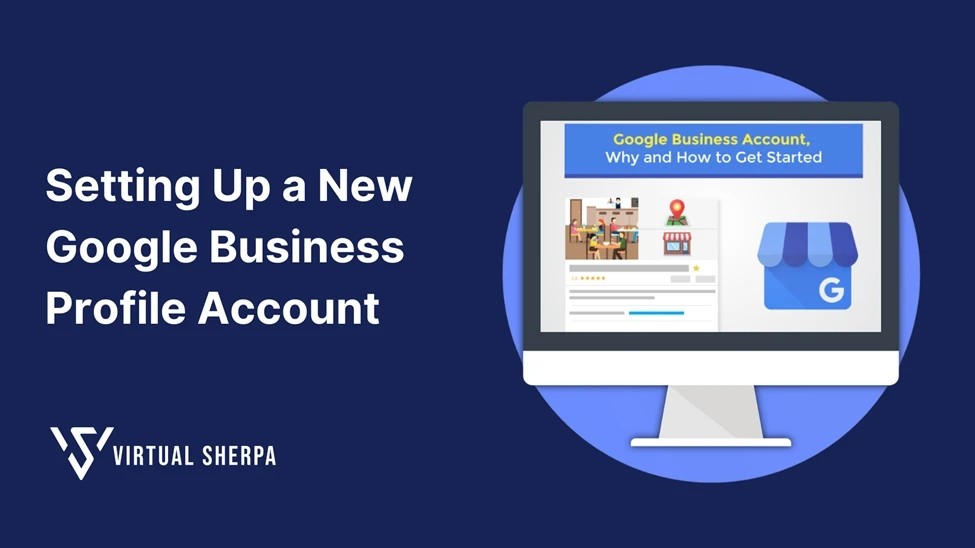
Setting Up a New Google Business Profile Account: A Step-by-Step Guide
Feb 5, 2025
Having a strong online presence is key for any business wanting to connect with local customers. One of the best ways to achieve this is by creating a Google Business Profile (GBP). This powerful tool helps your business show up in local search results, Google Maps, and the Google Knowledge Panel, making it simple for customers to discover you. In this detailed guide, we'll walk you through the steps of setting up your Google Business Profile account, so you can take charge of your online presence and reach more potential customers.
Why a Google Business Profile Is Important
Before we get into setting up your Google Business Profile, let's talk about why it's so important for your business. Check out these fantastic benefits:
Increased Visibility in Local Searches: A Google Business Profile helps your business show up in local search results, making it easier for customers to find you.
Improved Customer Trust: A verified Google Business Profile adds credibility to your business, showing customers that your business is legitimate.
Better Customer Engagement: Through your Google Business Profile, customers can leave reviews, ask questions, and interact with your business directly.
Free Advertising: Setting up a Google Business Profile is free, providing an effective way to promote your business without spending on paid ads.
Prerequisites
Before you start setting up your Google Business Profile, ensure you have the following:
● A Google Account: You’ll need to sign in to Google to create your Business Profile. If you don’t have a Google Account, you can create one here.
● Business Information: Prepare your business name, address, phone number, website URL, and business category.
● Physical Address: Google will send a verification postcard to this address, so it must be accurate.
Step 1: Create Your Google Business Profile Account
1.1 Sign In to Google
Start by signing in to the Google Account that you’ll use to manage your business. If you’re managing a client’s business, ensure you’re using the correct Google Account associated with your agency.
1.2 Access Google Business Profile
Go to the Google Business Profile website and click “Manage now.” This will take you to the setup page where you’ll begin entering your business details.
1.3 Enter Your Business Name
The first step in setting up your profile is to enter your business name. This should be the exact name your business uses in the real world. Avoid adding extra keywords or locations unless they are part of your official business name.
Example: If your business is called "Sunshine Bakery," enter "Sunshine Bakery" rather than "Sunshine Bakery Los Angeles."
1.4 Choose Your Business Type
Google will ask you to choose your business type. You’ll have three options:
● Storefront: Choose this if customers visit your physical location, such as a retail store or restaurant.
● Service Area: Select this if your business serves customers within a specific area, such as a plumbing service or delivery business.
● Hybrid: If your business has a physical location and also serves customers in a specific area, you can choose this option.
1.5 Enter Your Website URL
If you have a website, enter its URL in the provided field. This will help direct potential customers to your site where they can find more information about your business. If you don't have a website yet, you can skip this step and add it later.
1.6 Select Your Business Category
Choosing the right business category is crucial as it helps Google understand what your business offers, and it determines how your business appears in search results.
Example: If you run a bakery, you would select “Bakery” as your primary category. You can add additional categories if your business offers related services, such as “Coffee Shop” or “Catering Service.”
1.7 Enter Your Business Address
Next, enter your business’s physical address. This is where Google will send the verification postcard. Make sure the address is accurate and corresponds to your actual business location.
Note: If your business doesn’t have a physical location that customers visit (e.g., you run a service business from home), you can choose to hide your address and only show the service area.
1.8 Choose Your Service Area (If Applicable)
If you selected “Service Area” or “Hybrid” as your business type, you’ll need to specify the areas you serve. This can be a specific city, region, or even multiple locations. Be as precise as possible to ensure your business appears in relevant local searches.
Example: A delivery service might specify multiple cities in their service area, such as "Los Angeles, Santa Monica, and Beverly Hills."
1.9 Add Your Contact Information
Enter your business phone number so customers can reach you. While optional, it’s recommended to provide a direct contact number as it increases trust and allows customers to get in touch easily. You can also add a messaging option through Google if you want to offer direct communication via your profile.
Step 2: Verify Your Business
2.1 Request a Verification Postcard
After entering all your business information, Google will ask you to verify your business. The most common method is by postcard, which Google will mail to the address you provided.
● Enter Recipient Name: Google will ask for the name of the person who should receive the postcard. This is usually the business owner or manager.
● Check Address Accuracy: Double-check the address to ensure there are no errors.
2.2 Wait for the Postcard
The postcard typically arrives within 5-10 business days. It will contain a unique verification code that you’ll need to enter to verify your business.
2.3 Enter the Verification Code
Once you receive the postcard, go back to your Google Business Profile account and click on “Verify now.” Enter the code from the postcard, and your business will be verified.
Note: If you haven’t received the postcard after two weeks, you can request a new one. If you’re having trouble with verification, Google offers alternative methods such as phone or email verification for certain businesses.
Step 3: Enhance Your Google Business Profile
3.1 Add Photos
Adding high-quality photos to your profile is essential for attracting customers. Photos give potential customers a visual sense of your business, products, and services.
● Logo: Upload your business logo to enhance brand recognition.
● Cover Photo: Choose a cover photo that best represents your business. This image will appear at the top of your profile.
● Interior/Exterior Photos: Show off your business’s physical location with both interior and exterior shots.
● Product/Service Photos: Highlight your products or services with clear, high-resolution images.
Best Practices:
● Use images that are at least 720px by 720px.
● Make sure images are in focus, well-lit, and relevant to your business.
3.2 Add Business Hours
Clearly listing your business hours helps customers know when they can visit or contact you. If your hours change seasonally or you’re closed on holidays, make sure to update your profile accordingly.
3.3 Set Up Messaging
Google allows customers to message you directly through your Business Profile. Enabling this feature provides another way for customers to reach out with inquiries or service requests. Make sure you or someone on your team is available to respond to messages promptly.
3.4 Manage Reviews
Customer reviews are a important part of your Google Business Profile. They not only influence potential customers but also play a role in your search ranking.
● Encourage Reviews: Ask satisfied customers to leave positive reviews.
● Respond to Reviews: Engage with customers by thanking them for positive reviews and addressing any negative feedback constructively.
Tip: Responding to reviews within 24 hours shows that you value customer feedback and are committed to excellent service.
Google Posts allow you to share updates, offers, events, and more directly on your profile. These posts appear in your Business Profile and can include images, text, and links to other pages.
● What to Post: Share new product launches, special promotions, upcoming events, or any news that you want your customers to know.
● Frequency: Regularly posting content keeps your profile active and engaging.
Example: A café might post a weekly special or an announcement about a new menu item.
Step 4: Maintain and Optimize Your Google Business Profile
4.1 Regularly Update Your Information
As your business evolves, it’s important to keep your Google Business Profile up to date. This includes changes in business hours, contact information, services, or any other relevant details.
4.2 Monitor Insights
Google provides analytics tools to help you understand how customers are interacting with your profile. You can see how many people viewed your profile, how they found it, and what actions they took (such as visiting your website or requesting directions).
● Search Queries: Find out what search terms led customers to your profile.
● Customer Actions: Track how many people called your business, visited your website, or requested directions.
● Photo Views: Compare how often your photos are viewed compared to those of similar businesses.
Tip: Use these insights to fine-tune your profile and improve customer engagement.
4.3 Engage with the Q&A Section
The Q&A section of your Google Business Profile allows customers to ask questions about your business. It’s important to monitor this section and provide accurate answers promptly.
● Proactively Answer FAQs: If you notice common questions being asked, you can preemptively answer them by adding the information to your business description or as a pinned post.
● Encourage Customers to Ask Questions: This can help build a community around your business and provide valuable information to potential customers.
Insights
Setting up a Google Business Profile is like rolling out the red carpet for your business in the online world. It's your ticket to boosting your visibility and reaching potential customers more effectively. By following this guide, you'll not only set up your profile correctly but also sprinkle it with the magic that captures and keeps your customers' attention.
Once your profile is out there, don't just let it gather dust - keep it fresh and appealing! Interact with your customers through reviews and Q&A, and dive into Google's analytics tools to track your performance and keep improving. With a well-maintained Google Business Profile, your business will sparkle, attracting attention and trust, and paving the way for growth.